How to Install
3 minutes read
Install the script
1) Register for an account / login at https://socialproofpop.com/
2) Click on the install script/pixel from the drop-down menu for each campaign.
3) Copy and paste the code into your website header - before the end of the "/head"
Note: If you are wondering where to find the header of your website - that will vary by platform.
Some common platforms are shown below. Feel free to contact us at info@socialproofpop.com for help.
4) With the code deployed you can click “Check Activity” and your chosen domain should show up with an “Active” message.
WordPress
Some WordPress themes have an option to paste the code in from the WP-admin dashboard. Pictured below the screen from “Flatsome” theme.
If this is not already baked into your theme you can install a plugin to achieve the same functionality.
https://wordpress.org/plugins/header-footer-code-manager/ is one example.
If plugins are not your thing and you have access to the code of your website you can edit the header.php of your active theme.
Google Tag Manager
SquareSpace
Wix
For other platforms feel free to contact us for help.
Setup Your Campaign
1) Login at https://socialproofpop.com/
2) Once logged in at https://socialproofpop.com/dashboard click the Create Campaign button
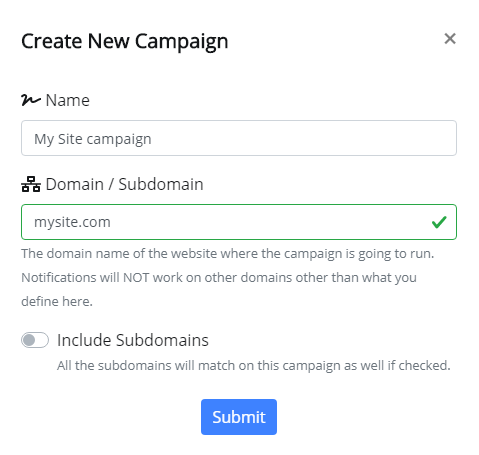
3) Give your campaign a name, if you have multiple websites this could be the site name. You could also give a descriptive name such as “Black Friday”
4) Next add the domain that the campaign will be live on. Include the “www.” or not as appropriate. Press submit to move on.
Note: If your website is live on https://www. and https:// then toggle the “Include Subdomains” option to on.
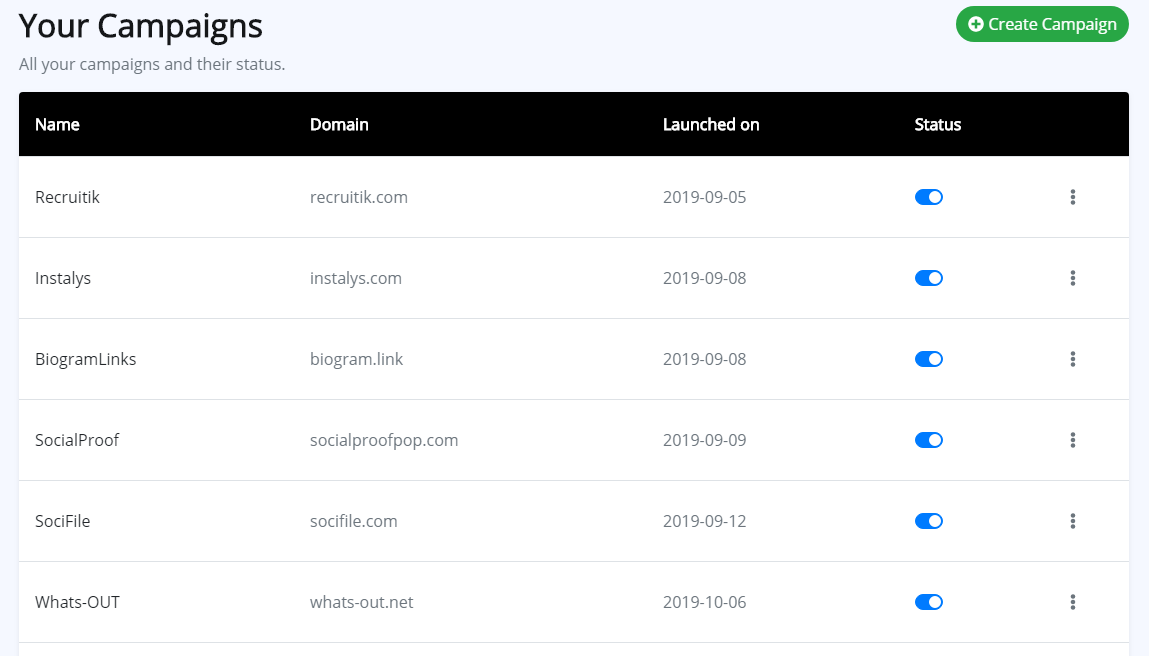
5) Now we can start creating the first widget. To get started click on the campaign you created in the previous step.
Create Notification
1) To create a notification, click on the “Create Notification” button.

2) Now choose which type of notification you want to display on the website. You can preview them by clicking on them.
3) Give your notification a name. This might be as simple as using the same name as the widget type (e.g. “Coupon” for the coupon type), but you may have a naming convention that helps you later on (e.g. “Black Friday 2019 coupon” or “Live counter checkout page”).
4) Click the blue submit button under the widget type selector.
Now we are into the settings stage.
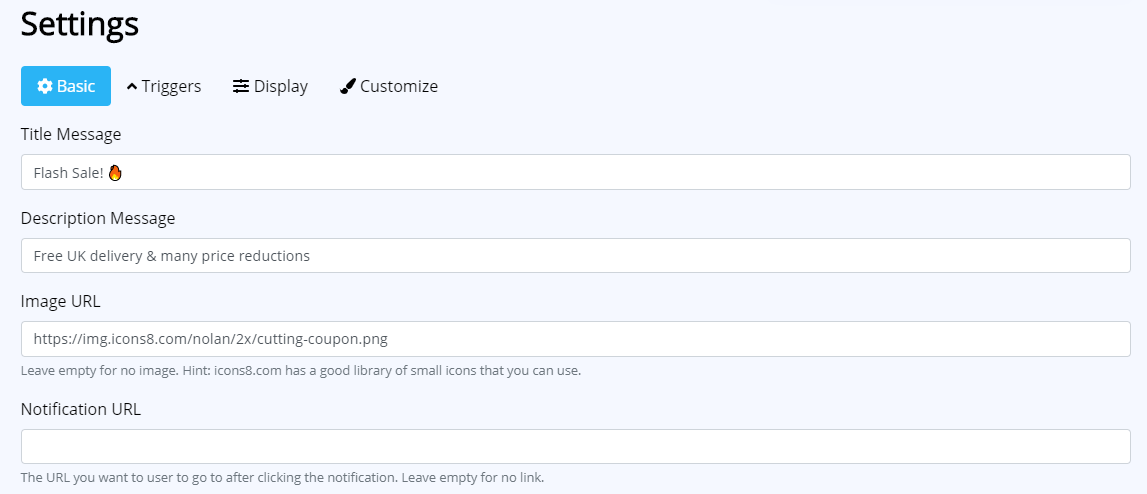
Basic - choose what text you want to display and other configurations depending on the widget type. If appropriate you can change the icon / image, and also choose (optional) a URL that the user goes to if they should click on the widget
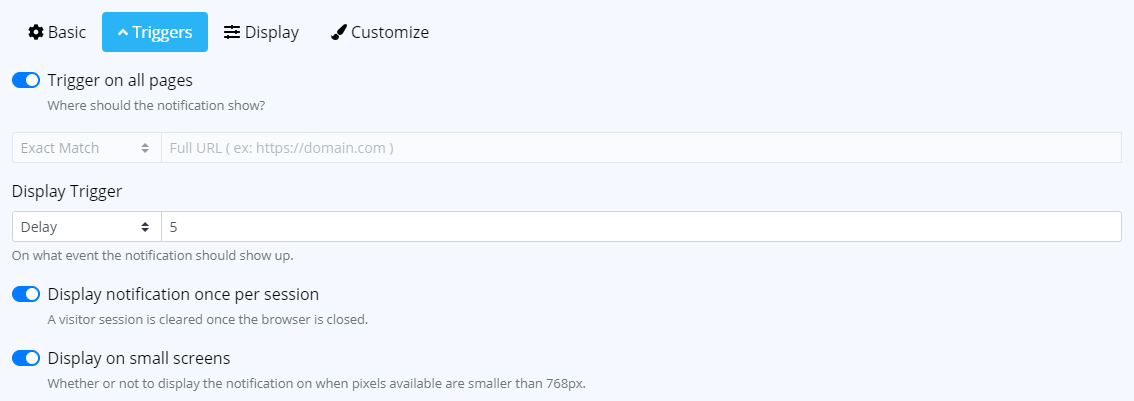
Triggers - This is where you control where on your website the widget will appear. This can be all pages, or specific pages, or a page type.
Examples:
You can also have a time lag after page load when the widget should appear.
Finally you can configure if the widget will be for all devices or desktop only.
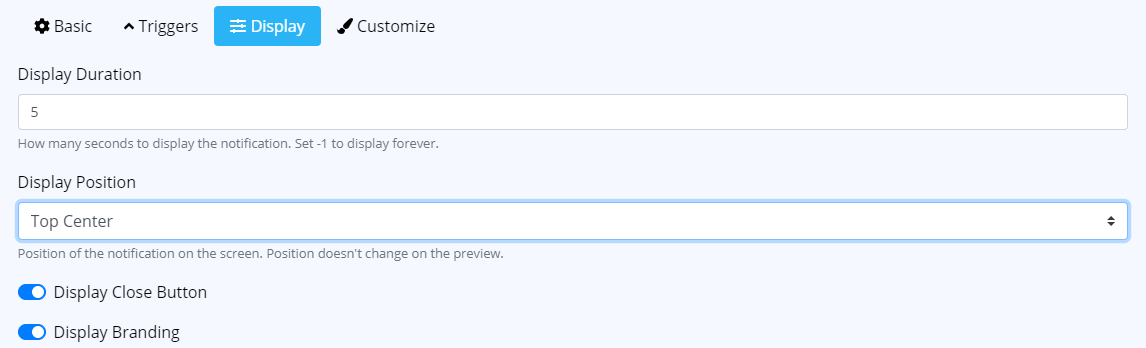
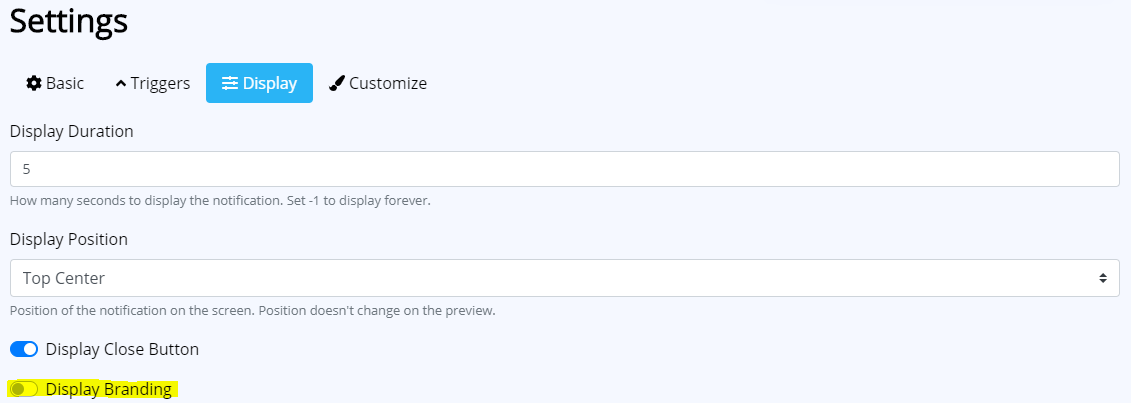
Display - Here we can dictate how low long the widget should appear for and how we want it positioned. We can also choose if the user can close the widget and if the branding should appear (default branding is “SocialProofPoP” but you can change that to your own brand (covered below).
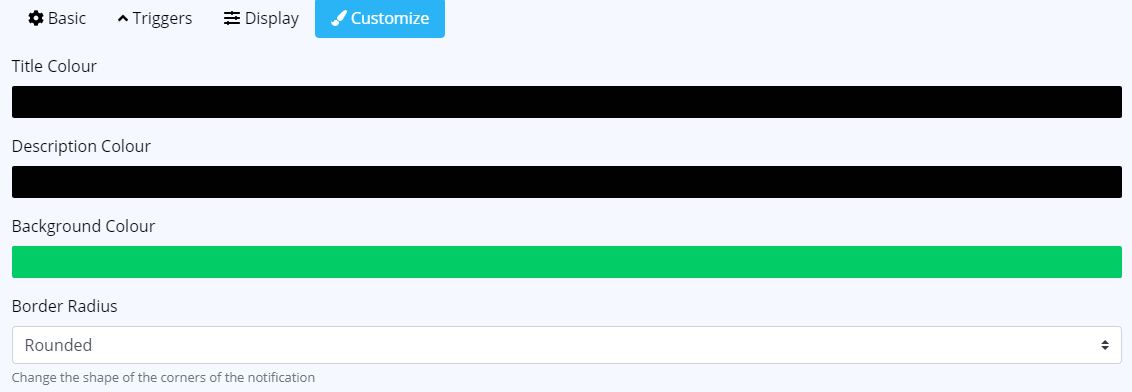
Customize - In this section we can change the colours of the headlines, descriptions and background. HEX colour codes are supported e.g. #00FFFF for aqua blue. We can also choose the border radius of the widget.Press the blue submit button to save your widget. All changes go live straight away.
Custom Branding
In the campaign section you can change the brand name that appears on each notification.
This branding will be used on all the notifications within the campaign, but the branding can be toggled on or off from the Settings > Display section of each notification